 |
| Before |
So, after I finished my table, I still had a bunch of twine left over. I wasn't sure what to do with it for awhile, but then I got this awesome idea to wrap a picture frame in it. Well, it turns out it wasn't exactly the best idea... (after the jump).
 |
| After |
After I finished my picture frame, I was so amped on twine that I decided to make a whole bunch more things! [I didn't mention that I ran out of twine 3/4 of the way through, left the frame sitting uncompleted for about 6 months, then wanted to just paint it, but taking the twine off was too labor intensive, so I put it back and let it sit for about another 6 months until I got sick of looking at it and went and bought some more twine and finished the project in about 20 minutes]
 |
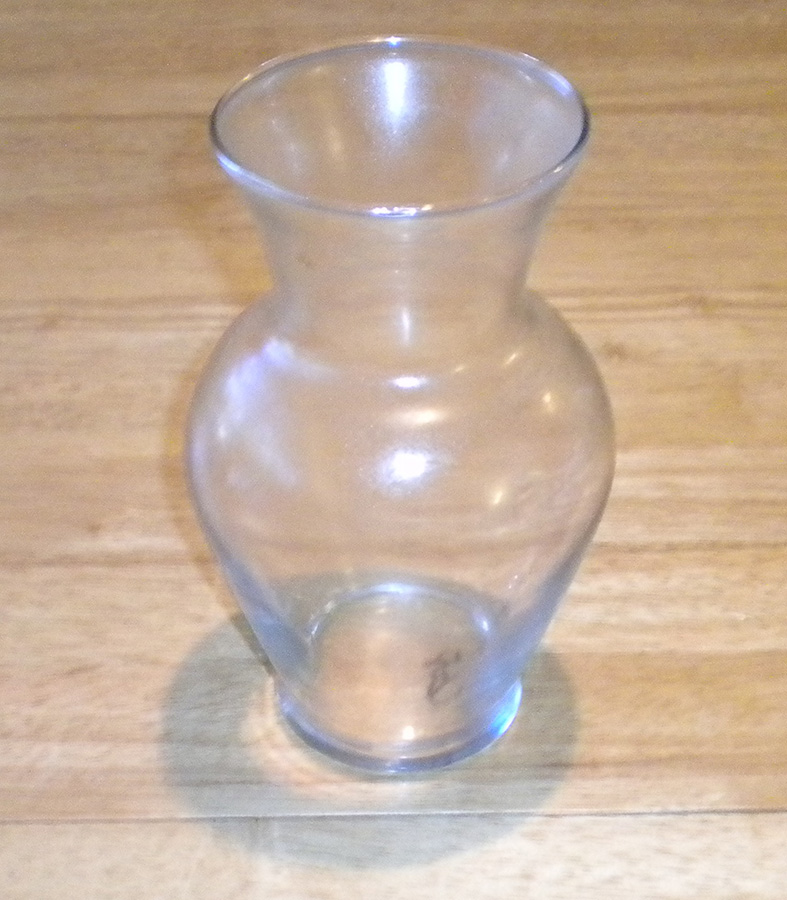
| Close Up |
Pro Tip: Nail Polish remover gets permanent marker off glass and the like really well.
Super Pro Tip: Pam Cooking Spray, when sprayed and left on sticker residue will help it wash right off!
Here's what I came up with:
 |
| Before (boring and dirty) |
 |
| After (clean and interesting!) |


Shameless Self-Promotion: These glass items are available at my Etsy Shop.
So, the reason that the picture frame didn't turn out to be the best idea was that the twine is so thick that the glass no longer fits, plus to get full coverage on the corners I had to wrap them up pretty high
BUT, just because I couldn't use it as a picture frame didn't mean that I couldn't use it as a sweet dry erase memo board! Another project that's been on my to-craft list for awhile.
.... Ta-Da... failed project redemption!
[picture coming when i get my camera back from Canada... ]
Instructions:
1) wrap picture frame in twine.
2) paste pretty paper to glass.
3) glue glass to frame. that's pretty much it.
More specific instructions:
1) don't start exactly on the corner, probably about an inch in from any side is best
2) I glued the beginning, the end, and every so often while I was wrapping the frame, just to keep the twine in place
3) wear gloves
4) I used hot glue to glue the glass onto the back of the twine
5) I used mod podge to glue the paper to the glass - I cut a bigger piece of paper than i needed so that I could move it around, then trimmed it afterwards.
No comments:
Post a Comment